


 E
E
 E
E


Mastering Your LED Watch: A Comprehensive Guide on How to Set LED Watch in 2025
Introduction: Your Guide to Setting Up Your LED Watch LED watches have made a huge comeback. They combine retro charm with modern functionality. Whether you...
Introduction: Your Guide to Setting Up Your LED Watch
LED watches have made a huge comeback. They combine retro charm with modern functionality. Whether you just got a new one or found an old favorite, knowing how to set LED watch correctly is key. This guide will walk you through every step. We will cover various types of LED watches. You will master your timepiece in no time.
Many people find setting these watches a bit tricky. This is especially true if they have hidden buttons or unique interfaces. However, with the right instructions, it becomes simple. By the end of this article, you will be an expert. You will know exactly how to set LED watch time and date on any model.
The Basics: Understanding Your LED Watch
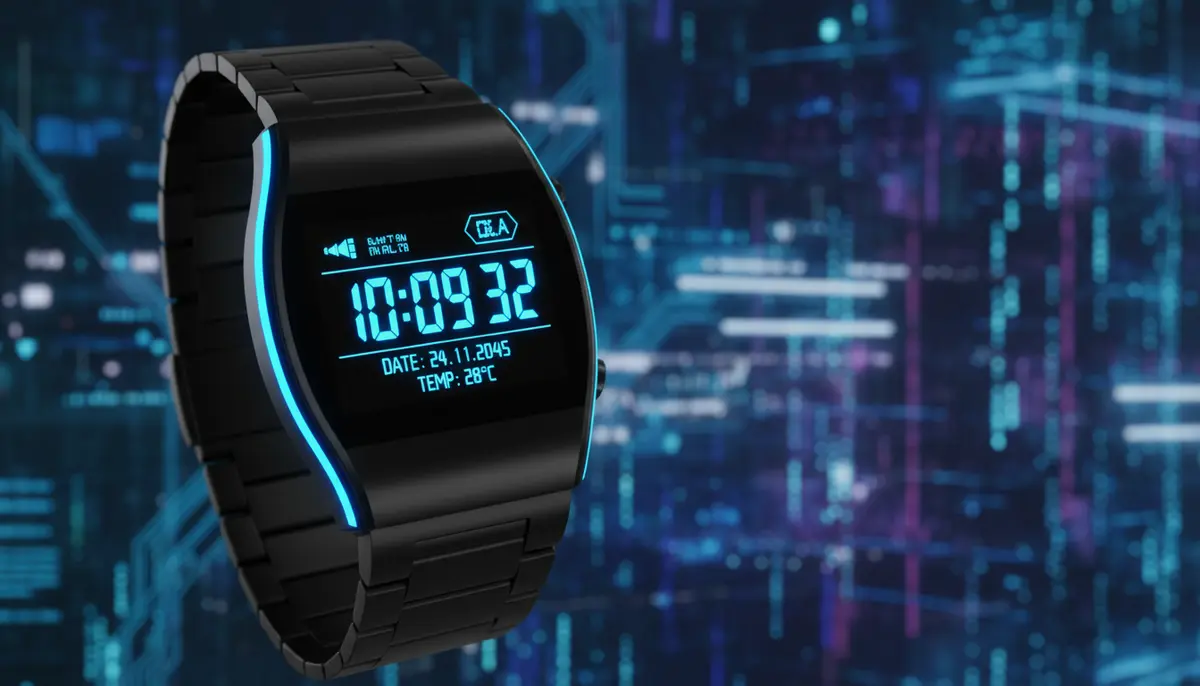
Before we dive into the specifics of how to set LED watch, let's understand the basics. LED watches display time using Light Emitting Diodes. These tiny lights illuminate to show numbers. This gives them their distinctive, often retro, look. Unlike traditional analog watches, they don't have hands. Unlike many smartwatches, they usually offer simpler functions.
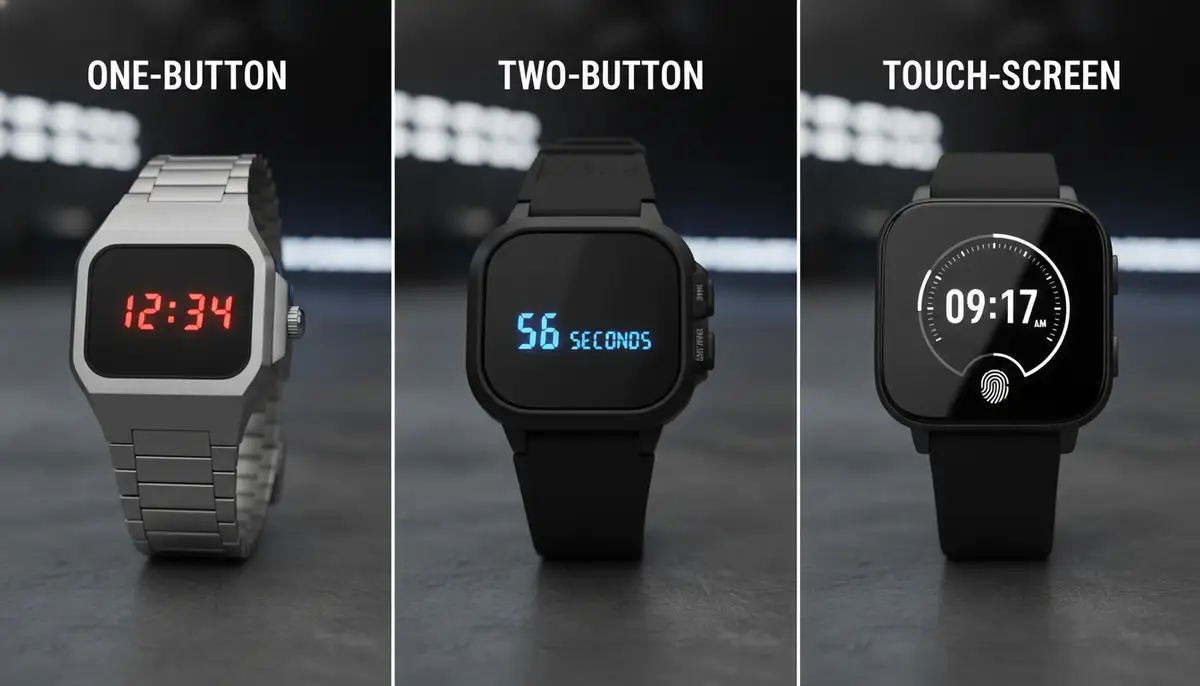
Most LED watches have a few common features. They typically show the time, and often the date. Some might include a stopwatch or alarm. The way you interact with them depends on their button configuration. This can range from a single button to multiple buttons or even a touch screen interface. Knowing your watch type is the first step in learning how to set LED watch.
How to Set LED Watch with One Button
One-button LED watches are common. They are known for their minimalist design. Setting them can feel like a puzzle at first. However, the process is quite logical once you know the sequence. This is a crucial section for anyone asking how to set LED watch with minimal controls.
- Press the button once to activate the display and show the current time.
- Press and hold the button for about 3-5 seconds. The hour digit should start blinking, indicating you are in setting mode.
- While the hour is blinking, press the button repeatedly to advance the hour. Stop when you reach the correct hour.
- Once the hour is set, press and hold the button again for 3-5 seconds. The minute digits will start blinking.
- Press the button repeatedly to advance the minutes. Stop when you reach the correct minute.
- If your watch has a date function, press and hold the button again. The month will start blinking.
- Press repeatedly to set the correct month. Repeat this process for the day.
- After setting all desired parameters, press and hold the button one last time. The display should stop blinking, and your settings will be saved.
Sometimes, these watches might have a slightly different sequence. For a more visual guide on setting the time on one-button LED watches, you can check out this helpful resource on setting the time on one-button LED watches. It offers additional tips and tricks.
It's important to be patient. You might need to cycle through the numbers a few times. Remember, the key is the combination of short presses and long presses. This method applies broadly to many basic LED models. It simplifies the process of how to set LED watch with just one button.
For a practical demonstration, watch this video:
. It visually explains how to set the date and time on a one-button digital LED watch. This can be very helpful if you are a visual learner. It shows exactly how to set LED watch functions.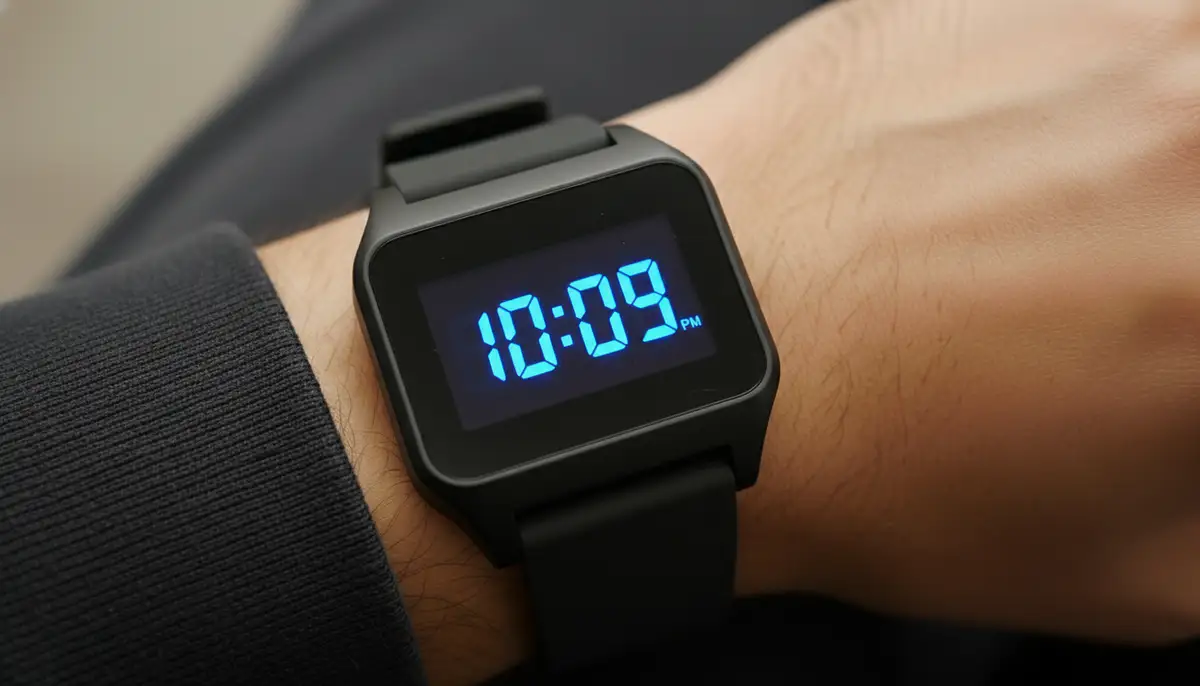
How to Set LED Watch with Two or More Buttons
Many LED watches come with two or more buttons. These often make the setting process a bit more intuitive. Typically, one button is for 'Mode' and another for 'Set' or 'Adjust'. Learning how to set LED watch with multiple buttons is usually less complex than single-button models.
- Identify Your Buttons: Look for labels like 'Mode', 'Set', 'Adjust', 'Light', or 'Start/Stop'. If unlabeled, experiment gently to see their functions.
- Enter Setting Mode: Press the 'Mode' button until the time display starts blinking. On some watches, you might need to press and hold 'Mode' or 'Set'.
- Select What to Set: Each press of the 'Mode' button (or a dedicated 'Select' button) will cycle through different settings: hours, minutes, month, day, year, 12/24-hour format.
- Adjust the Value: Once the desired setting (e.g., hours) is blinking, use the 'Set' or 'Adjust' button to change its value. Each press usually increments the number.
- Save Settings: After adjusting all necessary values, press the 'Mode' button until the display returns to normal time. Sometimes, a dedicated 'Set' button saves the changes, or the watch simply times out of setting mode.
Always refer to your watch's manual if you have it. Digital watches, including many LED models, share similar setting principles. For general guidance on setting a digital watch, this wikiHow article provides excellent universal tips. It can help you understand common digital watch settings. This knowledge is useful for how to set LED watch models with more buttons.
The extra buttons offer more direct control. This often speeds up the setting process. It eliminates the need for long presses to switch modes. This is a significant advantage when you need to quickly adjust your time. Knowing how to set LED watch with these controls makes it very convenient.
Setting Touch-Screen LED Watches
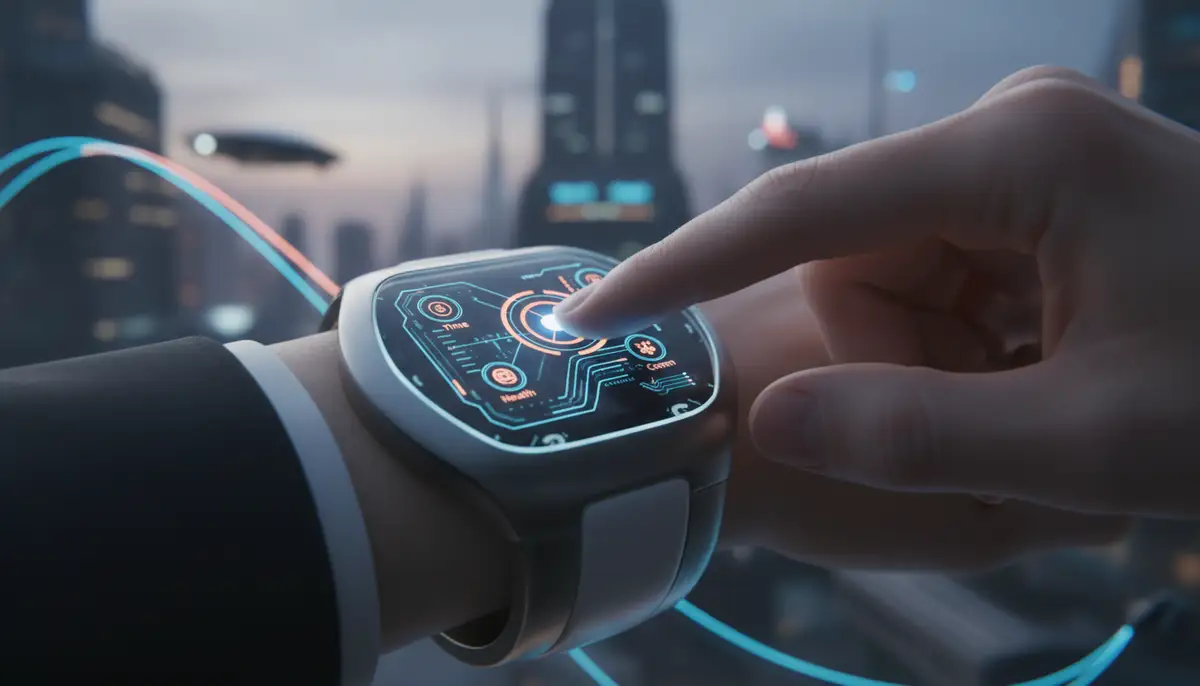
The future of LED watches includes touch-screen models. These watches offer a sleek, button-less design. They rely on taps and swipes for navigation. Setting these watches is more like interacting with a smartphone. This is a modern approach to how to set LED watch features.
- Activate Display: Tap the screen once to wake up the watch and display the time.
- Enter Settings: Typically, a long press on the screen or a specific corner will open the settings menu. Look for a gear icon or a 'Set' option.
- Navigate Menus: Swipe left/right or up/down to browse through options like time, date, alarms, and display brightness.
- Adjust Values: Tap on the setting you want to change (e.g., 'Time'). You might see up/down arrows or a digital keypad to input numbers. Swipe to adjust hours and minutes.
- Confirm and Exit: Look for a 'Confirm', 'Save', or 'Done' button. Tapping this will save your changes. Then, navigate back to the main watch face.
Touch-screen LED watches often come with accompanying apps. These apps can be downloaded to your smartphone. They allow you to set the watch remotely. This is often an easier way to manage settings. It provides a seamless experience for how to set LED watch features. Companies like WatchMaker offer extensive customization for digital watch faces, which can be a great way to personalize your device even further. You can even download watch faces directly from our repository to enhance your experience.
For a visual guide on these types of devices, you can find a helpful tutorial on a video tutorial on LED touch digital watches. This video shows how to operate and set common LED touch models. It gives you a clear understanding of the interface. This makes learning how to set LED watch with a touch screen much simpler.
Common Issues and Troubleshooting When You Try to Set LED Watch
Even with instructions, you might face some issues. LED watches can sometimes be finicky. Here are some common problems and their solutions. This will help you resolve difficulties when you try to set LED watch.

- Watch Not Responding: The battery might be low or dead. Try replacing the battery. Some watches have a small reset button (often recessed) that you can press with a paperclip.
- Digits Not Blinking: You might not be holding the button long enough. Try holding it down for 5-10 seconds. Ensure you are in the correct mode.
- Time Jumps Ahead/Back: This could indicate a faulty button or internal mechanism. If the watch is new, consider returning it. If old, a watch repair shop might help.
- Date is Incorrect After Setting Time: Some watches require you to set the date separately after the time. Go back into setting mode and cycle until you reach the date.
- Display Too Dim: Check if your watch has a brightness setting. Some LED watches are designed to be dimmer to save battery. This might not be an issue with how to set LED watch, but rather a display feature.
Sometimes, a simple reset can fix many problems. Look for a tiny hole on the back or side of the watch. Use a paperclip to press the button inside. This can often restore the watch to its factory settings. Then, you can try to set LED watch again from the beginning.
Advanced Tips for Your LED Watch
Beyond just setting the time and date, there are other ways to maximize your LED watch experience. These tips can help you with additional features. They make using your watch even more enjoyable.
1. Understanding 12-Hour vs. 24-Hour Format
Most LED watches allow you to switch between 12-hour (AM/PM) and 24-hour (military) formats. This setting is usually found within the main time-setting sequence. When you are cycling through hours, you will often see 'AM' or 'PM' appear. If you continue past 12 PM, it might switch to 24-hour mode or cycle back to 1 AM. Look for a 'H' or '24H' indicator. This helps you customize how to set LED watch display preferences.
2. Setting Alarms and Stopwatches
If your LED watch has an alarm or stopwatch function, you'll usually access it through the 'Mode' button. Cycle through the modes until you see 'AL' for alarm or 'ST' for stopwatch. Setting an alarm typically involves entering a time, similar to setting the main clock. For a stopwatch, you'll usually have 'Start/Stop' and 'Reset' buttons. These functions add great utility to your watch. They go beyond just how to set LED watch time.
3. Battery Life and Display Brightness
LED displays consume more power than LCDs. This means battery life can be a concern. Many LED watches have adjustable brightness settings. Dimming the display slightly can extend battery life. Some watches also have an 'auto-off' feature. The display turns off after a few seconds to save power. This is not directly related to how to set LED watch, but it impacts daily use.
4. Customizing Your Watch Face (For Smart LED Watches)
For more advanced LED watches, especially those integrated with smartwatch platforms like Wear OS or Apple Watch, customization is key. Services like WatchMaker offer thousands of watch faces. These can completely change the look and feel of your device. You can find unique designs from independent creators. This allows for a truly personalized experience. While not strictly about how to set LED watch's internal clock, it's about setting its aesthetic.
Other platforms, such as buddywatch.app, Pujie Black, and watchfacely.com, also provide excellent options for customizing watch faces. These platforms offer a wide range of designs. They cater to different styles and preferences. Exploring these options can significantly enhance your watch experience.
Comparing LED Watch Setting Methods
Different LED watches offer different setting experiences. Here's a quick comparison to help summarize. This table highlights the key differences when you need to set LED watch.
| Watch Type | Typical Buttons | Setting Difficulty | Key Actions |
|---|---|---|---|
| One-Button LED | 1 (often recessed) | Medium to High | Short press to cycle, long press to select/confirm |
| Two+ Button LED | 2-4 (Mode, Set, Light) | Low to Medium | Mode to cycle, Set to adjust |
| Touch-Screen LED | None (or minimal) | Low | Tap/swipe to navigate, long press for settings |
As you can see, the number of buttons directly influences the method. However, each type has its own logic. Once you learn the pattern, it becomes easy to set LED watch regardless of its design. This understanding simplifies the process greatly.
Maintaining Your LED Watch
Proper maintenance ensures your LED watch lasts longer. It also keeps it accurate. This isn't just about how to set LED watch. It's about its overall care. Here are some quick tips.
- Battery Replacement: Replace batteries promptly when the display dims. Use the correct battery type.
- Cleaning: Wipe your watch with a soft, dry cloth. Avoid harsh chemicals that can damage the display or casing.
- Water Resistance: Check your watch's water resistance rating. Most LED watches are splash-proof, but not suitable for swimming.
- Storage: Store your watch in a cool, dry place. Avoid extreme temperatures or direct sunlight.
Regular care will prevent issues. It will also ensure your watch is always ready to go. A well-maintained watch is a reliable watch. This attention to detail extends beyond just knowing how to set LED watch.
Beyond LED: Other Watch Setting Guides
While this guide focuses on how to set LED watch, the world of timepieces is vast. Different brands and types of watches have unique setting procedures. If you own other models, you might find our other guides useful. For instance, if you're looking for a comprehensive guide on how to set Armitron watches, we have detailed instructions. Similarly, for luxury timepieces, you can explore our detailed guide on how to set Tissot watches. Each brand often has its own quirks and features.
Understanding the specific mechanics of each watch is crucial. This ensures accurate timekeeping. Our resources aim to cover a wide array of watches. We want to help you master every device in your collection. This ensures you always know how to set LED watch or any other timepiece.
Conclusion: You're Now an LED Watch Pro!
You now have all the knowledge needed to confidently set any LED watch. We've covered everything from the simple one-button models to advanced touch-screen devices. You know how to set LED watch time, date, and other functions. Remember, patience and following the steps are key.
LED watches are stylish and functional. They offer a unique way to tell time. By mastering their settings, you ensure accuracy and enjoy your timepiece to the fullest. So go ahead, adjust your watch with confidence. You now know exactly how to set LED watch for any occasion. Don't forget to explore new watch faces for your smartwatch devices at WatchMaker to truly personalize your experience!